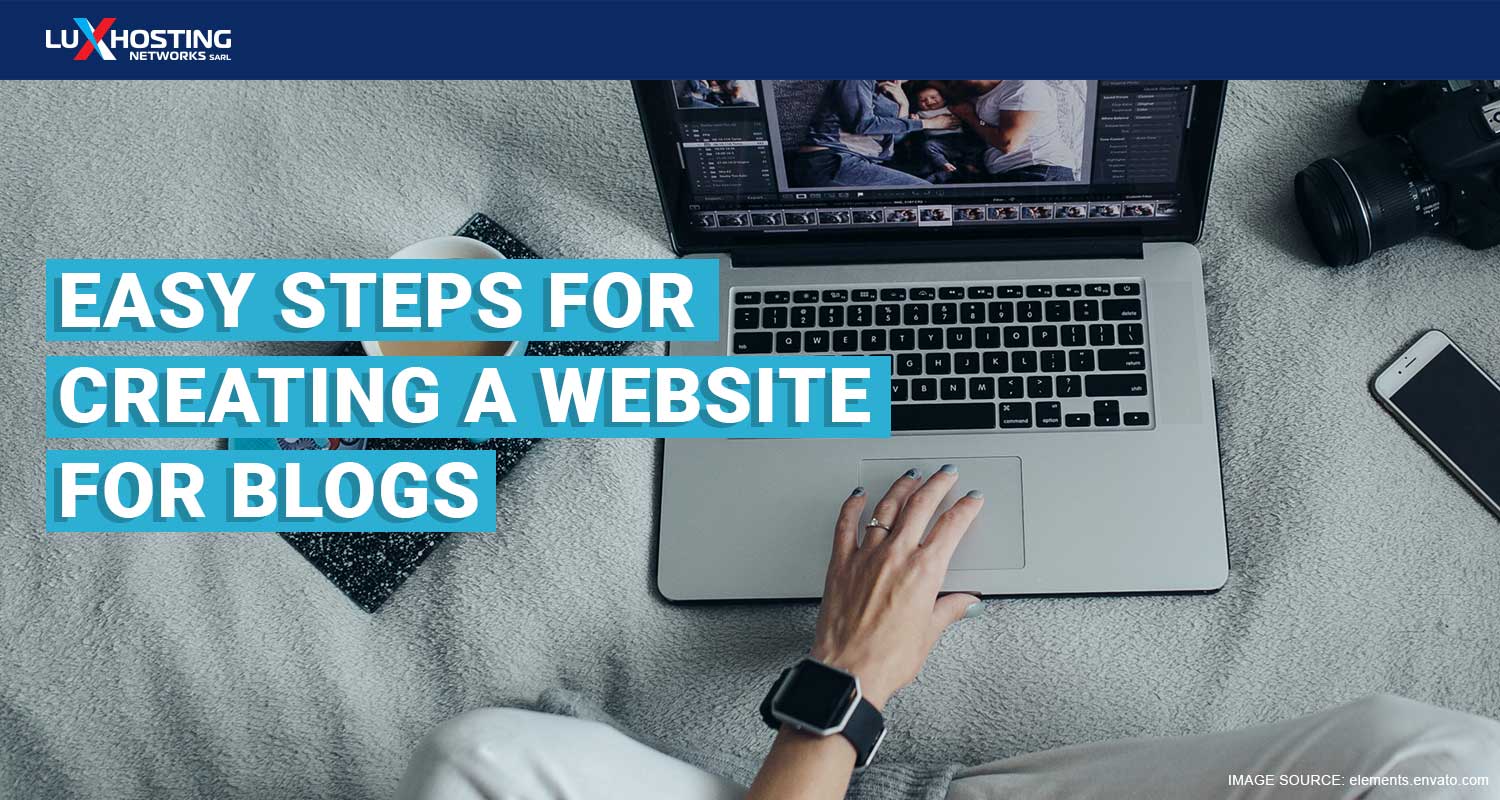
You’ve wanted to transform your blog ideas into an actual blog, but were probably discouraged by what seems like a long and tedious process of creating a website to host your blog. The truth is that the process can be overwhelming and intimidating, but it doesn’t have to be. Here’s a quick and easy step-by-step guide that you can use to create a blog. A website that focuses primarily on written content or blog posts is really what a blog is. Blog posts are not just written content though. Your blog can include photos and videos. The idea is to tell a story, sell a product or service and words are the main tools used to accomplish that. To start your blog website click here.
Why start a blog?
Before you start a blog, find your why. Why do you want to do it? It can be a number of reasons, such as:
- To make money
- Share your story
- Self/business recognition
- Create or find a community Whatever your why is, figure it out and most of the work is done, because that will dictate how you proceed, if you decide to do so. While figuring out your why, you would also look at things such as, the purpose of the blog, your target audience and the look and feel you want your blog to have.
How to start a blog in seven steps
You’ve figured out your why and decided to launch your blog. The next step is to create the website and this can be done using website builder software, such as the easysitebuilder. There are varying steps involved in the building process, but we’ve narrowed it down to seven, all of which can be completed in less than 30 minutes.
Step 1: Choose a blog name
You want to pick a name that is descriptive. Once someone sees your blog name, they should be able to tell from that, what your blog is about. If you are only blogging about, let’s say cooking; be sure to include that in your blog name. But it doesn’t have to have the actual word ‘cooking’ in it. You can swap that out for anything from recipes, meals, dishes. When a potential reader sees any of those words, it suggests to them that you are blogging about food. Your blog name doesn’t have to be one word either. For example, if you are creating a personal blog and you’ll be covering a wide range of topics, it’s suggested that you use your name. In this case, you can opt to use one of or both names and if per chance someone else shares your name, throw in your middle initial, a variation of your name or use a pseudonym.
Step 2: Select a domain extension
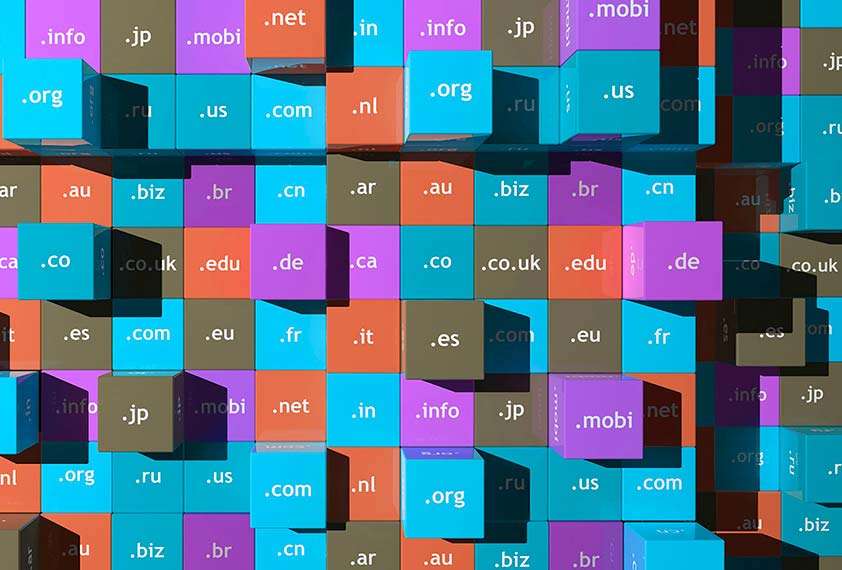 Your domain extension should reflect your blog name, so once name is decided on, selecting a domain extension is the next natural step in the process. The preferred domain extension is .com, but it’s not the only option. Don't forget that you can also use extensions like .lu, .eu, .net, .co, .blog, .org and so on. When you go to select your extension, you may find that someone thought of it before you. Do not be discouraged. If someone has the .com version, try using one of the options stated above. You can also tweak your extension by adding simple words such as ‘the’, ‘my’ or ‘a’. Adding dashes between words is another option.
Step 3: Get online
 This is the part of the process where you will need to register your blog and find a web host. A web host acts like storage for your blog. It stores all the files and then distributes them when a user types in your blog name. If you want a blog, you could a blog host and use the seperate hosting as mentioned earlier. You’ll also need to get software to build your blog. This may start sounding like a lot, but the good news is that the software and the hosting usually come as a package deal. So once you choose a sitebuilder, they will provide the software to build the site, and they will also host it for you. Like what you read? Learn more here.
Step 4: Customise your blog
Remember earlier when we spoke about deciding what you want your blog to look and feel like? This is when you get to make that a reality. Your web host will provide you with a number of free templates; choose one and tweak it to your liking. If you don’t like any of the templates provided, some hosts give you the option to purchase one from elsewhere and integrate it on their site.
Step 5: Publish your first post
It’s now time to launch yourself on the World Wide Web; this is your opportunity to introduce yourself to the world; it’s time to do some actual blogging. Think about what your introduction will be, write it, review it and hit publish and just like that, you would have started your very own blog.
Step 6: Promote! Promote! Promote!
After publishing comes the promotion. Actually, you want to start promoting before your blog is even up and running. Build momentum before. Tell your family, friends and the world to look out for your blog and when you do publish, remind them. What’s the point of creating awesome content when there’s no one to consume it? Some simple ways of getting readers is by adding the link for your blog to your social media pages. You can also tag people in these posts and hope they read and share the link. Email marketing is another way to promote your blog and attract and retain your audience.
Step 7: Monetise your blog
The final step in the process is to monetise your blog. Now, there are different ways you can make money from your blog. These include, but are not limited to selling your own merchandise or services and doing sponsored posts (get paid to review products or services on your blog). But, the easiest and most common way to monetize is to sell advertising space on your blog. The more popular your blog, the more ads you’ll get, which can sometimes become a lot to manage. You will therefore find Google Adsense very helpful if you choose this method of monetisation. It takes the hard work out of the process by finding advertisers for you and all you have to do is use the code they give you, when you sign up, on your blog.
Summary
Staring a website for your blog does not have to be difficult. With these seven easy to follow steps, you can be ready to launch your blogging career in 30 minutes or less.