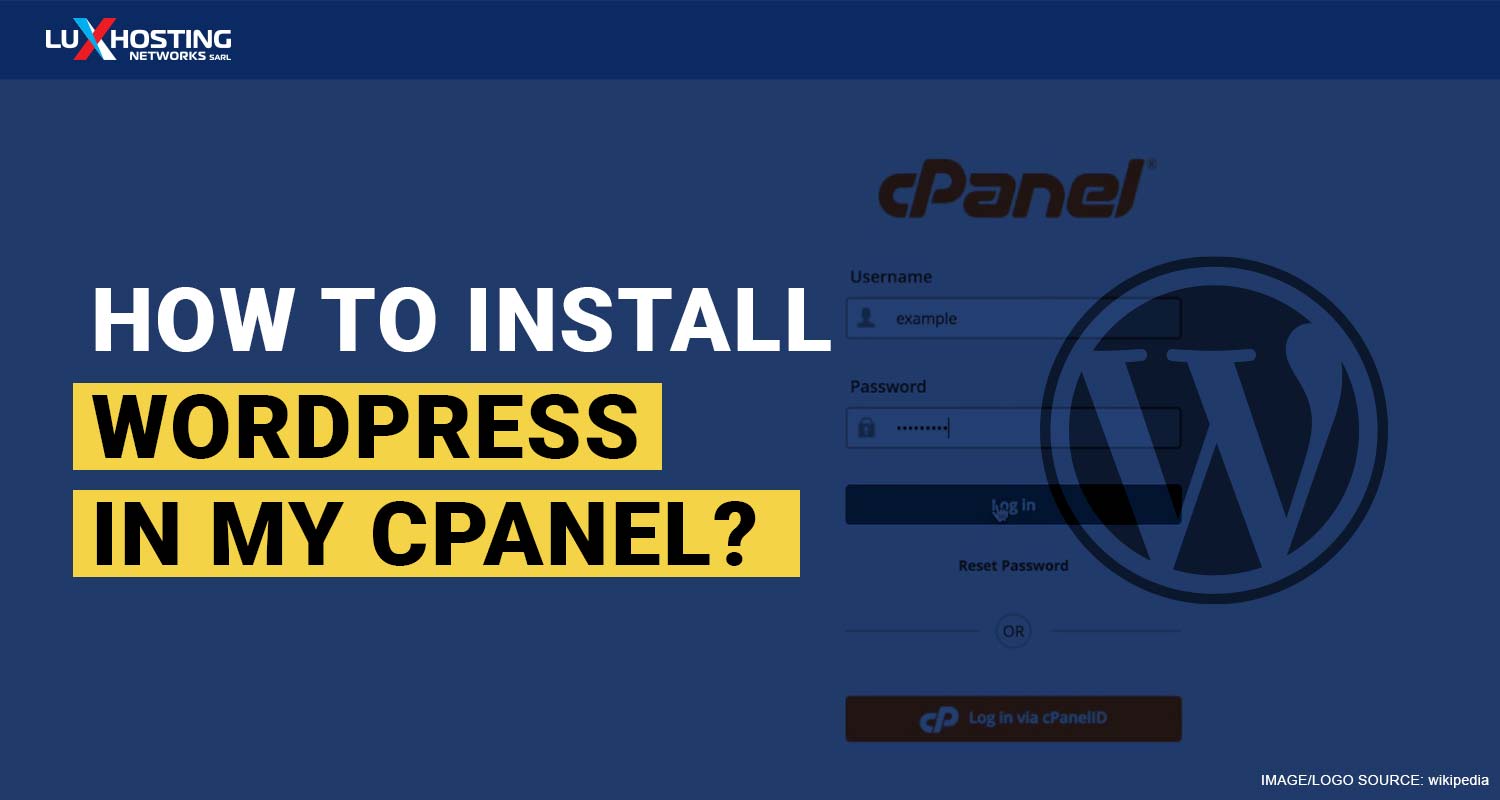
Congratulations! You’ve completed the first steps of marking your territory online by obtaining a superb domain name and signed up for a top-tier web WordPress hosting plan. You have done the basics. So what is the next step? How do you turn these digital assets into a functioning WordPress website? We'll discuss this and the steps to install WordPress in cPanel.
What is WordPress?
WordPress is a free, open-source Content Management System (CMS). It has intuitive tools that make it easy for persons to create websites. It is great for simple website designs but can also be used to power complex sites as well.
Benefits of WordPress
- It comes with thousands of plugins
- SEO friendly & easy to customise
- User-friendly and works well for beginners
Drawbacks of WordPress
- Greatly dependent on plugins
- Plugins, in general, are vulnerable to viruses, hacking, and software bugs WordPress is quite popular compared to other Content Management Systems. While it’s not difficult to install, someone has to go through the process, as it can’t install itself. Today, we will breakdown how to setup WordPress in cPanel with Softaculous or manually.
Choosing a WordPress Installation Method
Note that there are a couple of minor differences to consider when choosing how to install WordPress. You can opt to do so manually or using an App Installer, such as Softaculous.
- Installing your WordPress with an installer makes it easier for you to uninstall it from your cPanel, should you ever want to.
- If you install manually, that is the same way you will have to delete it – manually, should that day come.
How to Install WordPress Using Softaculous
You can use the Softaculous automatic app installer to install WordPress in your cPanel in a few clicks. Here’s how:
Step #1: Open up Softaculous
Log into your cPanel and access Softaculous Apps Installer under the Software Section. Alternatively, you can type Softaculous into the search bar. Click on Softaculous Apps Installer.
Step #2: Install WordPress
Navigate to the Top Scripts section when you open Softaculous and search for WordPress. Click on the WordPress logo and you will be directed to the WordPress Overview screen. Now click on Install.
Step #3: Fill in WordPress Installation Data
On the Overview screen, you will notice fields for installation information such as domain, title, description, administrative username and password, administrative email, etc. Select your domain under Choose Domain. Note this is the domain name that your WordPress will be installed under. Fill in the other information and click on Install. Softaculous will review the information you submit and install the files on your server for WordPress.
Step #4: Confirm Installation
At this point, Click on Return to Overview. In Current Installations, you will see your WordPress installation. Using the Administrative URL link, you can automatically log into your new WordPress application.
Installing WordPress In Your cPanel Manually
With WordPress or any other CMS, you have the option of installing it manually. This manual installation process usually consists of a few steps including, uploading the WordPress files to your server, creating and linking the database and running the 5-minute WordPress installation.
Step #1: Download WordPress
Go ahead and download the latest version of WordPress or the version you are most comfortable with, using WordPress.org.
Step #2: Upload WordPress to Your Server
Login to your cPanel account, click on the file manager and open public_html located at the left-hand sidebar. Click on the Upload option in cPanel's navigation menu. When a new tab opens up in your browser, click the button to choose the file from your computer. Select your newly downloaded WordPress file and upload it.
Step #3: Extract Files
Once the WordPress file is uploaded, return to the public_html directory. There you will see your WordPress in a ZIP file. Right-click on it and select extract. You will see a new popup showing the extraction results. Confirm the location the content inside the ZIP file should be extracted to. In public_html, click on the Extract File(s) button. You’ll get a popup showing the extraction results. Close it. Now, move the files and folders from the WordPress folder into public_html, by opening the folder, click select all, right-click and choose the move option.
Step #4: Create and Assign the Database User to the Database
Because WordPress runs a MySQL database, you will have to create a new database and user. To do this, return to the main cPanel and open MySQL Databases. To create a new database, scroll down, and fill in the name then click on the Create Database button. Now that you have created the database, it’s time to create a new user for it. Scroll down and fill in the few empty fields. Select the database user and its password. Click on Create User. After creating the database and its user, assign the database to the user you just created. From the drop-down menu choose each, to do this click on Add.
Step#5: Connect the Database to Your WordPress Installation
Go to public_html, look for the file and right-click to edit. Scroll down and fill in the database details, click on the Save Changes button.
Step#6: Run Installation
To do this click Run the installation to complete the process. WordPress will ask you for a few details about your site, including the username and password for the Admin user. Complete by filling in the requested information and then click Install WordPress. Congrats, you’ve just successfully installed WordPress manually!
Manual Installation vs Installer App-Which to choose?
WordPress offers a wonderful interface, which allows you to create a website quickly. As you would have learned above, you can go about installing it with an Installer App or manually. In fact, many persons prefer going the route of using an installer while others prefer to manually setup WordPress in cPanel. So, it’s really all up to you. Opting for either will not have any influence on how your website functions. All of our web hosting plans come with Softaculous App Installer to make things easier for you. But you will still have to choose to manually install WordPress. You will find that we have a plan that’s ideal for your business or blog.